Got Goals for the New Year? Smart Plants Can Help You Achieve Them
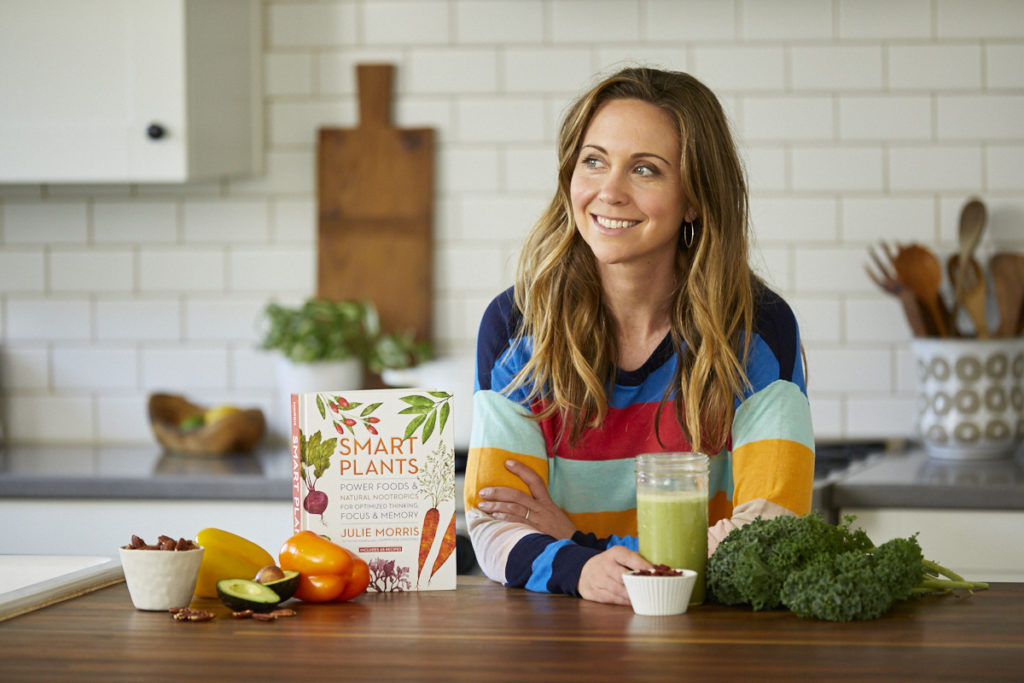
Exciting news: Smart Plants has officially hit bookstore shelves nationwide! The new year is upon us, and with it comes an ideal time set new goals and resolutions to promote self-improvement and personal growth. But how well you pursue your goals – truly any goal – roots back to one key element: the strength of your brain. Want to […]
Your Brain Needs A Dietary Upgrade. Here’s Why.
If you feel like your mind needs some extra TLC these days, you’re not alone. Once upon a time, our life was . . . different. In fact, whether you go back 10,000, 1,000, or even just 100 years ago, our day-to-day tasks and mental demands were a far cry from what they are today. For most of […]
How to Create Natural Food Colorings Using Superfoods

Pink frosted cupcakes. Bright green smoothies. Bubbly blue cocktails. Who doesn’t love the lure of vividly-colored foods? Using colors to enhance the visual appeal of our foods is nothing new, but that’s not to say all of our modern applications have been exactly what you’d call a smooth process. Though natural, plant-based dyes have been […]
Yes, You Can Make Kabobs Using Superfoods (And They’re So Good)

Keeping meals low-key is the subscribed vibe of summer, and few dishes do it better than kabobs. (Food-on-a-stick always equals fun, right?). Once assembled in advance, kabobs grill up in mere minutes, and delight even picky eaters with a colorful lineup of tasty morsels, meant to be enjoyed one at a time. Although kabobs don’t […]
You Need To Try This Hazelnut Cake Makeover

Enjoy this perfect German-style hazelnut cake, which might be served with an afternoon coffee, or snacked on intermittently throughout the day.
How to Pack A Superfood Lunchbox
Your lunch is begging for these superfood upgrades.
What’s so great about lucuma?
From ice cream to baked goods … is there anything lucuma can’t enhance? Though lucuma isn’t a superfood that’s considered mainstream in North America (yet!), it’s actually been harvested and consumed for thousands of years in South America. This ultra-nutritious fruit is native to Peru, and packed with vitamins, minerals, and a delicious sweet taste. […]
Springtime Health Helpers

Ugh, nothing brings down the springtime spirit like a cold or seasonal allergies. But never fear: by consuming superfoods that boost the immune system and relieve inflammation, you can easily keep your wellness at its peak. Additionally, because all these superfoods are real foods (and not manufactured supplements), their micronutrients are extra digestible, coupled with symbiotic plant compounds, and […]
Cherishing chocolate: 6 incredible benefits of cacao

Sure it’ll please your taste buds, but check out some of the other ways cacao is good for your whole body.
A Pure & Simple Holiday
Simplicity seems like a luxury these days…